
Miniatures: Space Elf
A great lesson in adding another part (in this case a base), checking supports and double checking sizes before hitting print..
I'm not going to bore you with my deep knowledge of Eldar/Aeldari/Space Elf lore because truth be told, it's as deep as a half empty kids inflatable wading pool. Sure they've popped up in plenty I've read and listened too but the whole shuriken slinging dancing craftworld denizens and their ways are completely lost on me, I much prefer the cold hard rationality of Space Marines/Adeptus Astartes or the lunatic ways of chaos. Far less complex really, it's the simple things.
Oh and orks, orks are bloody hilarious at times.
But as lost on ancient knowledge as they are, I can still appreciate their existence, especially in something like the Fabius Bile series of books (such great books they are to)

..and I definitely appreciate their models/miniatures. A long long time ago when I was having a punch on with puberty, a lovely aunt brought my brother and I an Eldar jet bike model each and I think that's where the appreciation kicked off. Smooth lines, lithe models and cone head helmets. What's not to love?
So fast forward to now and printing them out via the Ender was a no brainer. Somehow my search for all things printable from the 40K universe discovered some 'Space Elves':


 |
| Three different models with three different bases, what could go wrong here? |
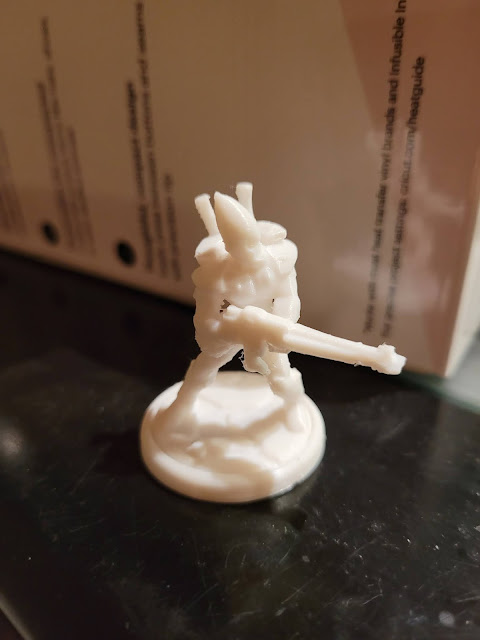
I'd just assumed that once you added one thing to another, the original measurements would stay the same but somehow that information got a little...er...washed out between programs. Because when I printed them out, they ended up a little underdone:

 |
| Yes, size matters here.(And quality) |
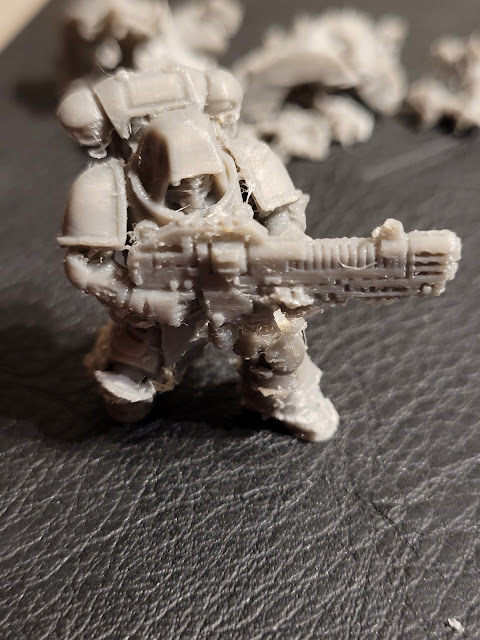
By also using a proper miniature printing profile the big guy took a lot longer but came out far better quality because of it. You've got to slow down at times, no matter how much of a rush you're in to build an army.
And as much as I figured he'd have less chance of ankle snapping like the three kids there, I still set support placement to Touching Buildplate which put supports under the gun and that was it. Halfway through the print the supports actually fell over but by then the gun was well on the way and aside from a little filing here and there to get rid of some flashing, he came out just fine. I'm getting some primer in shortly, after that I'll figure what colour scheme to daub him in after that.
And I might as well paint up the little guys too...everyone deserves an entourage now and then.
AN EASY WAY TO CHECK MEASUREMENTS USING THE BASE IN CURA
Load a model(s) with the base on into Cura, then add in a base with nothing on it.

Since we know the base we want will be 32mm, click on it and check the measurements.

Ahh there's our problem right there - it's 7mm short. Changing the value or x or y to 32mm will update everything and get our base size correct.
Now we pop out warrior onto the base and play with the measurements until you get a match that looks roughly like this, blending into each other.

Conveniently the x axis matches but this hasn't always been the case, one of the three models I resized was giving a completely different reading but growing and shrinking to blend into the fixed base size was the way to go. They're 32mm as the Aelderi gods intended.
WHERE TO GET THINGS
Space elf collection - Cults3d
Bases - Simple Bases at Thingiverse
Miniature profile - Cura 4.1 and lower at 3dprintedtabletop
Rubbish black paint, makers own.

Comments
Post a Comment