
Metal extruders and mutant samurai
So the printer's been out of action for the last three weeks - the plastic extruder decided it didn't want to extrude no more and if you can't push any filament through, well you just can't print anything at all. So out with the old and in with the new in the form of a shiny new metal one.
It's working okay so far, but not without some teething problems..
So what happened to the old one?
Good question! One day it stopped feeding filament through. And then trying to fix it, it made it impossible to pull filament out..

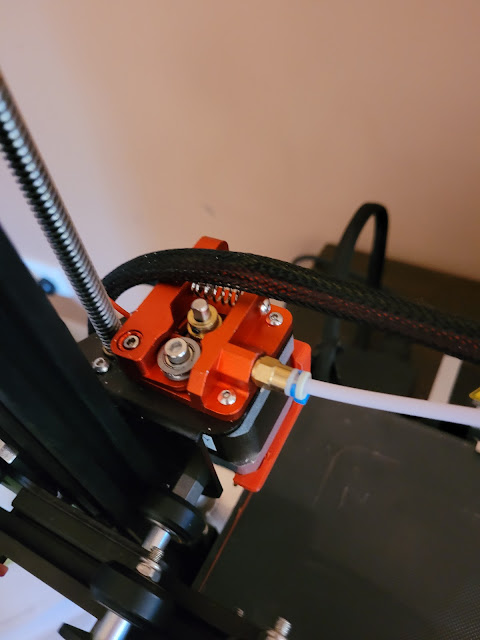
Worse still, I couldn't get that brass bit next to the spanner off to see if things were caught in there because somehow it'd become one with the inner metal sleeve and when it turned, the sleeve turned which it's not supposed to do. Once I cut things back and took the entire assembly off, I discovered a dirty great crack building under the release lever. One way or another this was on its way out and ready for the bin.
ENTER THE RED MACHINE
The great news is, the metal (aluminium) replacement is cheap, cheerful, readily available and very easy to swap over. I picked up mine for $14 on eBay and aside from the the wait, putting it on was relatively easy. (It didn't come with instructions but there's plenty of pics available to see which bolt goes where. One thing is doesn't come with however is that handy spot to hang the hot end wires on like the plastic one did.

Which is what that red printed part underneath is all about - the first part of a great cable chain we're in the midst of printing to keep it out of harms way and more to the point, off a warm print bed.
When all done, it should look like this only in red: Ender 3 Cable Chain STL
Also with the new extruder I finally got around to calibrating the e-steps (something I hadn't done before) and while it sounds hideously complicated, it's a fairly easy process involving a couple of minutes on the tools and a little bit of math.
A big shout out to 509 Drone for pointing out how easy this is:
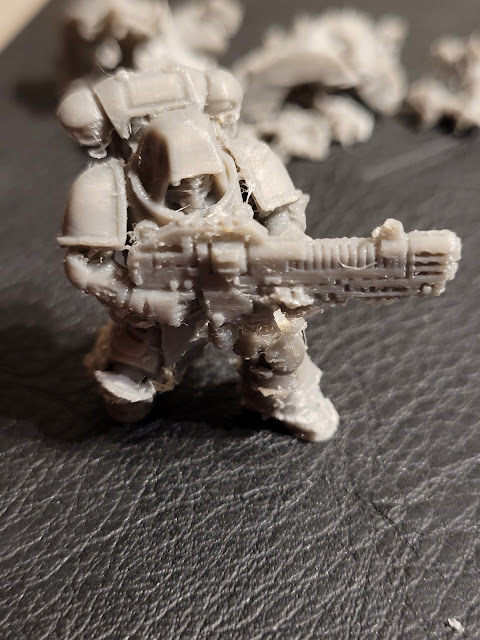
And it turns out our little Ender 3 V2 was only .5mm out which was spectacular. We dialed things in and got to printing. Since I haven't printed a Samurai for a while when the machine finally came free again, that's the first thing I jumped on.
Only someone seemingly hit the poor guy with some time displacement weapon or something, right down the baseline. What the hell happened here?

Half the base went one way, half the other.

Not great when part of his feet shifted with him. Compared to my other two Sam's so far, he was also a little undersized so I went back to Cura to try again. This time I dropped the temperature back to 210 and set him on a 45 degree angle utilising tree supports for the first time. The results were a much cleaner print thankfully but what the hell happened to that base??


Comments
Post a Comment